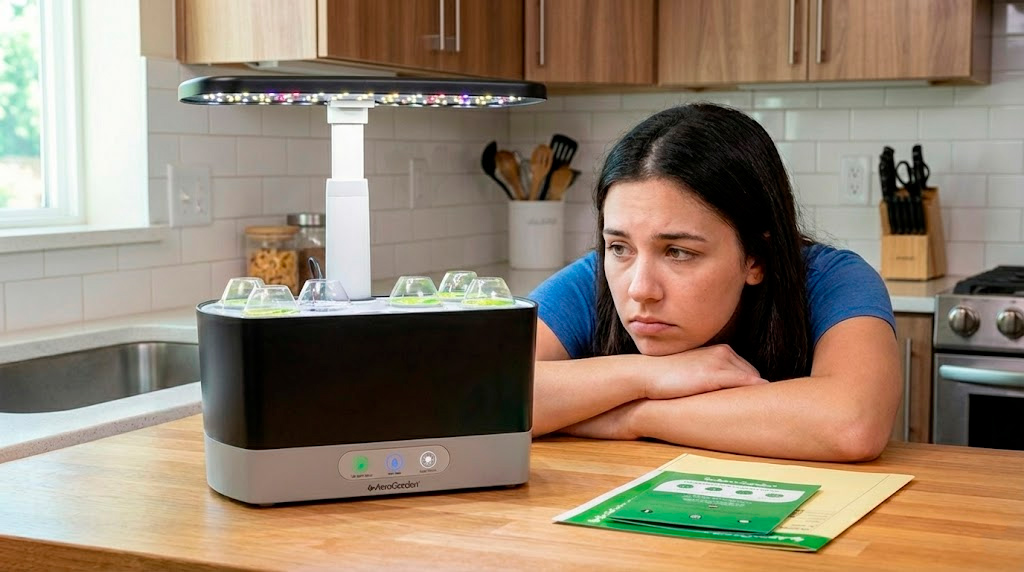
You just set up your SmartGarden, placed the seeds in the sponges, filled the tank, and turned on the light. Three days pass, five days… a week. Nothing. You look at the sponge hole and it’s still empty.
Germination is the most delicate stage of growing. The seed is a newborn that needs perfect moisture and temperature conditions to “wake up.” If something goes wrong here, there’s no crop.
The good news is that most failures have a fix. Let’s look at why they happen and the most reliable methods for ensuring success.
Note: This article includes AI-generated images and illustrations to enhance your reading experience.
The secret to success: germinating outside the system
Most manuals say “put the seed in the sponge and wait.” The problem is that if the seed is old or fails, you’ve wasted a week with a pod occupied in your SmartGarden for nothing.
To avoid wasting time and sponges, the smart move is to germinate outside the system and only transfer seeds that have already sprouted. There are two methods:
Option A — Sprouting tray (the pro option)
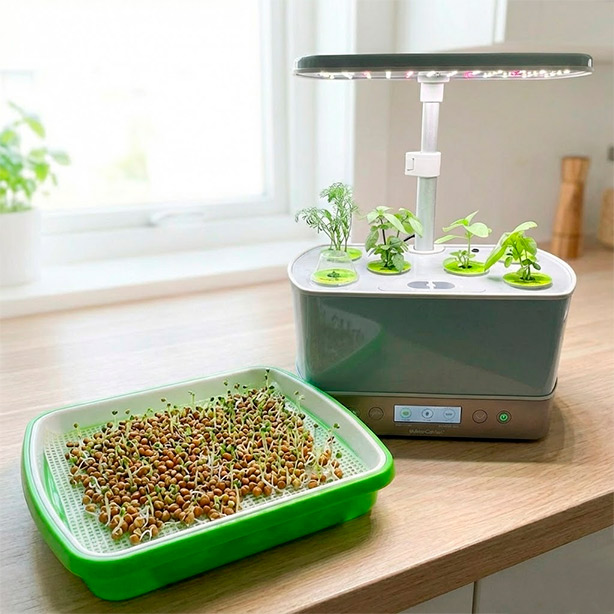
A sprouting tray is a shallow container with a mesh tray and lid, designed to maintain perfect humidity without drowning the seeds.
- Place the seeds on the mesh.
- Mist with water — they don’t need to be submerged, just moist.
- Put the lid on to create a greenhouse effect.
- Once or twice a day, lift the lid and give a quick mist if they look dry.
The advantage over the paper towel method is that it’s cleaner, you can see progress at a glance, and the roots don’t tangle in the paper.
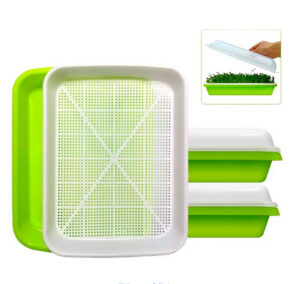
2-Pack Seed Sprouter Tray BPA Free PP Soil-Free Big Capacity Healthy
Option B — The paper towel method (the classic home approach)
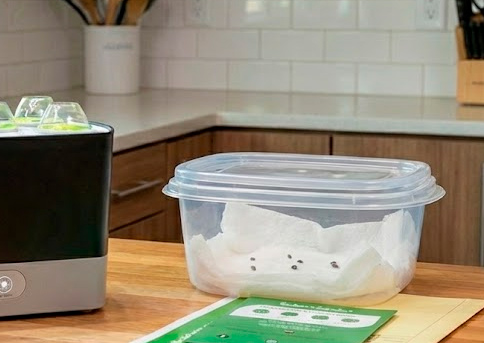
If you don’t have a sprouting tray, use what you already have in the kitchen:
- Wet a paper towel and wring it out well (damp, not dripping).
- Place the seeds on the towel, fold it over, and put it in a closed container in a dark, warm spot.
- Check every 24 hours to see if they’ve sprouted.
The transplant moment: Whichever method you use, once you see a white root (radicle) emerging, the plant is alive. Use tweezers to transfer it to the sponge with the root pointing downward.
Common problems and how to fix them
If you went with the traditional method (directly in the sponge) and you’re having trouble, find your situation here:
1. The “mummy” seed — nothing happens Days pass and the seed looks exactly the same. The most common cause is an old seed or a dry sponge.
Try the glass test: drop the seeds into a glass of water. If they float after 24 hours, they’re likely no good. If they sink, they’re hydrated and ready to germinate.
2. The “helmet head” The plant emerges but has the seed shell stuck to its tip and can’t open its first leaves. The cause is lack of ambient moisture — the shell has dried out and hardened.
Fix: Place a drop of water on the shell to soften it, wait a few hours, and try to remove it very gently with tweezers. If you force it, you can tear the top right off the plant.
3. White fuzz on the sponge — don’t panic It’s very common to see a cotton-like white fuzz around the seed or on the sponge surface. The vast majority of the time it’s completely harmless — it could be a benign fungus that coexists without harming the plant, or simply the root hairs of the emerging root being mistaken for mold.
Generally, you don’t need to do anything. This type of fuzz usually disappears on its own once the plant grows and shades the sponge. Only step in if it turns dark green, slimy, or smells bad. If it’s white and fluffy, everything is fine.
4. The plant falls over or stretches too much (leggy seedling) The stem grows very tall, thin, and weak until it bends and topples. The cause is lack of light — the plant is stretching toward the lamp.
Fix: Lower the lamp as close to the dome as possible without touching it. Intense light produces short, strong stems.
Two key tools: the dome and nutrients
The clear dome Those small plastic covers that come with kits are essential. They create a high-humidity microclimate that the seed needs to break through its shell.
- Put it on from minute zero, as soon as you place the seed in the sponge.
- Remove it as soon as the plant touches the plastic or unfolds its first small leaves. If you leave it on, the plant will cook or rot from excess moisture.
The nutrient rule Don’t add fertilizer to the water yet. The seed has its own food reserve (cotyledons) for the first 7 to 10 days — if you add nutrients from the start, you’ll burn the baby root.
Wait until the plant has its first pair of true leaves (the ones that come in after the first two small round ones) before fertilizing.
“The root isn’t touching the water” — a common concern
Many users worry because they lift the sponge and don’t see any roots hanging into the tank.
That’s not a problem. During the first week, the plant lives off the moisture the sponge absorbs through capillary action. The root will take between 5 and 10 days to peek out from the bottom of the pod and reach the water. As long as the sponge feels damp to the touch, everything is fine.
Patience is the grower’s greatest virtue. Use fresh seeds, try the sprouting tray for a more controlled process, and don’t forget to remove the dome in time. In a few days you’ll see green in your SmartGarden.