Introduction: why grow strawberries hydroponically?
Have you ever bitten into a supermarket strawberry that looked red and glossy, but tasted like… nothing? That’s the main reason to grow them at home.
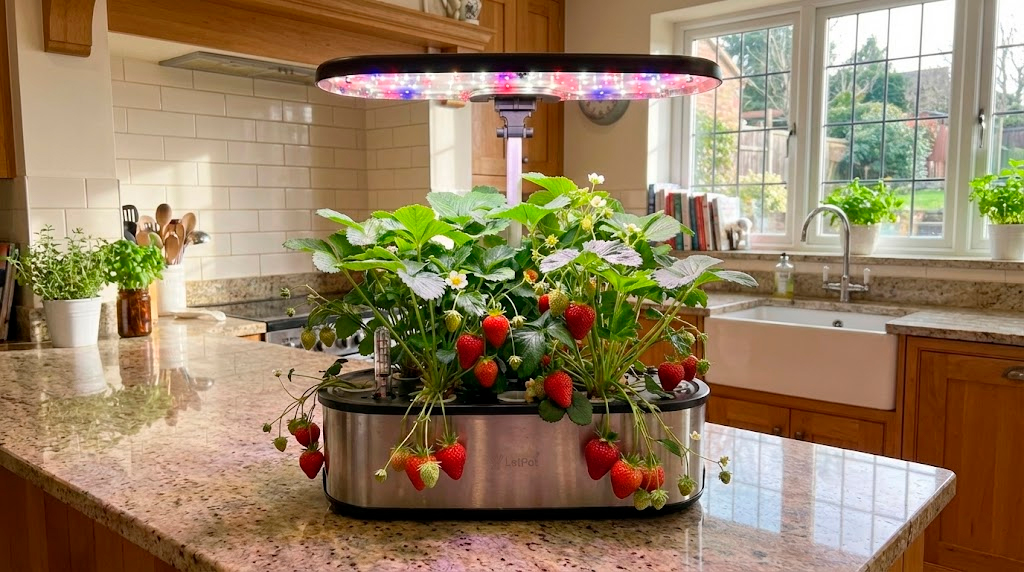
Having strawberries growing in your kitchen is a full sensory experience. The sweet fragrance the plants release — even before harvest — fills the room. And the flavor is on another level entirely. A strawberry ripened under your grow lights and picked at exactly the right moment is a burst of perfectly balanced sweetness and acidity that you’ll rarely find in a store.
It’s also a fascinating learning process. Watching a small crown wake up, push out its first leaves, produce delicate white flowers, and finally form fruit connects you to the cycle of life in a way that few plants can.
It’s the perfect project for truly understanding how your SmartGarden works.
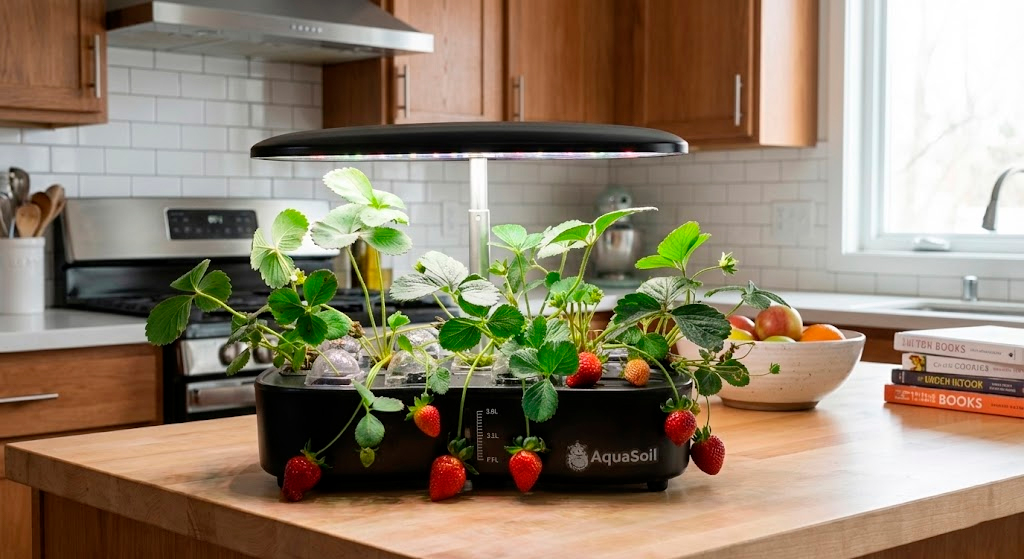
Note: This article includes AI-generated images and illustrations to enhance your reading experience.
What type of compact hydroponic system works best for strawberries
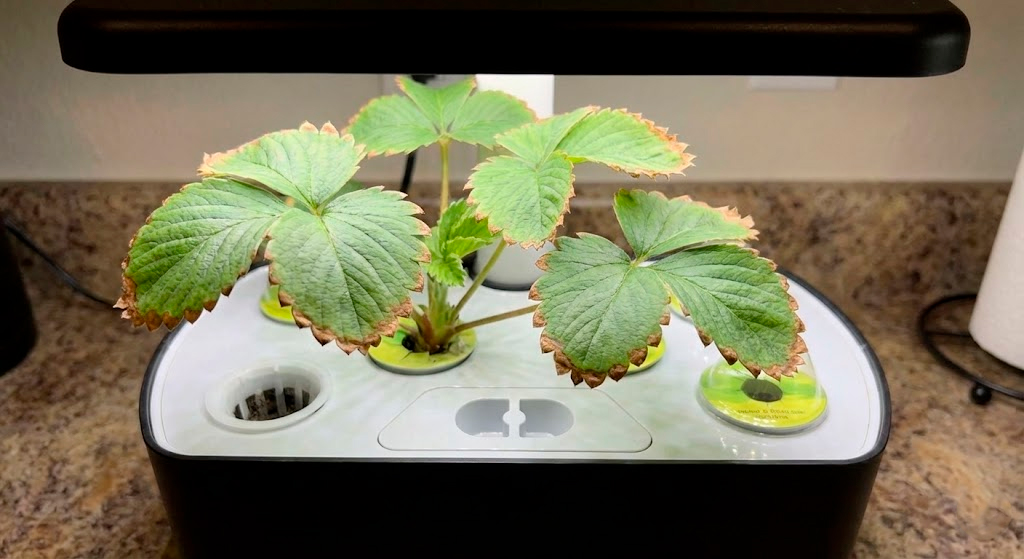
The good news is that almost any compact system on the market (AeroGarden, LetPot, Ahopegarden, etc.) will work. Strawberries have fibrous roots that adapt well to small spaces and don’t need very large tanks.
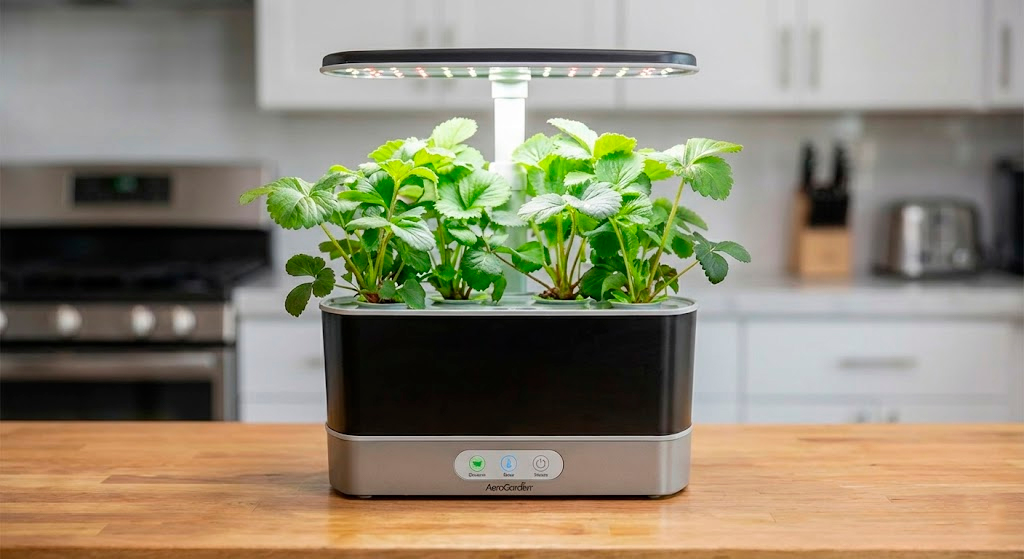
However, there’s one key factor: light. Unlike lettuce or herbs, strawberries need to produce flowers and fruit, which takes a lot of energy.
Recommendation: If you have the option, choose a model with an LED grow light rated at 20W or higher. With lower-powered systems (10–15W), the plants will grow lush and green but will struggle to develop large, sweet fruit.
Which strawberry varieties to choose
Not all strawberries are the same. For indoor growing in compact systems, the choice is clear: day-neutral varieties.
Traditional strawberries only produce fruit when days get shorter or longer depending on the season. Day-neutral varieties don’t depend on daylight hours to flower — as long as they have stable light and temperature, they’ll flower and fruit continuously.
Recommended varieties: Albion, San Andreas, and Monterey. They’re compact and extremely productive.
How to germinate strawberries
This is where many beginners get frustrated: strawberries from seed require patience.
Paper towel germination (recommended): Place the seeds between damp paper towels inside a container in a warm spot. This lets you identify which seeds germinate before moving them to the system, saving space and sponges.
Sponge germination: You can place the seeds directly into your kit’s sponges. It’s convenient, but slow.

Estimated time: Strawberries can take 2 to 4 weeks just to germinate, and then several more months before they’re large enough to produce fruit. It’s a slow road, but worth every step.
Starting from transplants: the expert shortcut
Bare Root Strawberry Plants from Hand Picked Nursery
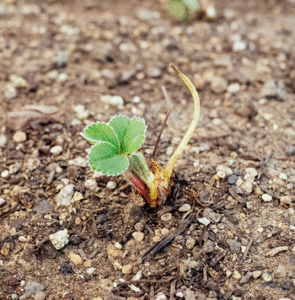
If you don’t want to wait 4 or 5 months to see your first strawberry, the secret is to start from crowns or runners.
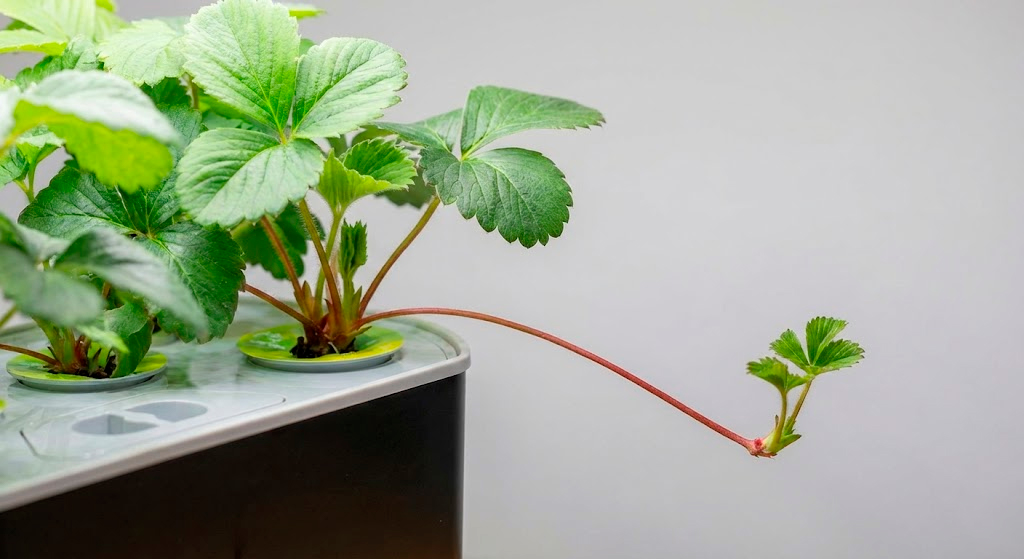
- What’s a runner? It’s an “arm” the mother plant sends out with a baby plant at the tip.
- What’s the crown? It’s the central base of the plant where all the stems emerge from.
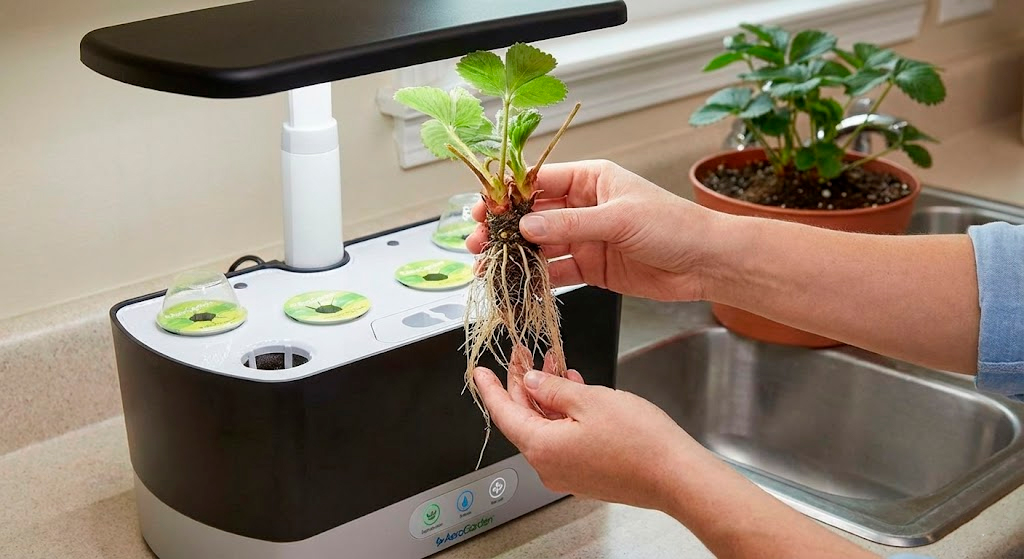
The method: Take a rooted runner, wash the roots very thoroughly to remove all soil (critical for keeping pathogens out of the system), and place that plant directly into your SmartGarden.
The advantage: You skip months of growth. A healthy crown can start flowering in as little as 3 to 4 weeks after transplanting.
Tip: If you soak the new crown in a glass of water for a few days, roots will sprout and you’ll have a new plant ready to transplant.
Ideal lighting
Light is the primary fuel for generating sugar in the fruit.
Distance: Keep the LED panel as close to the plants as possible without burning the leaves (about 2–4 inches). As they grow, raise the lamp — but always keep it close. Intensity drops off dramatically with distance.
Light hours: Set the timer for 14 to 16 hours per day. Less will reduce yields; more is rarely necessary and just wastes electricity.
Nutrients: ratios and stages
Strawberries are sensitive to nutrient burn. In the beginning, less is more.
- Vegetative stage: Use a standard balanced solution.
- Flowering and fruiting stage: The plant needs less nitrogen (N) and much more potassium (K) and phosphorus (P).
Key parameters:
EC: Start low (0.8–1.0) and once fruit appears you can move up to 1.2–1.5. Don’t go higher or the leaf tips will burn (tip burn).
pH: Keep it between 5.5 and 6.2. If it climbs too high, the plant won’t be able to absorb iron and will turn yellow..
How to prune and manage your plants
In a compact system, space is everything.
Runners: If your goal is fruit production, cut all runners off. They steal a tremendous amount of energy from the mother plant. Remove them and that energy gets redirected into plumping up the strawberries.
Old leaves: When the lower leaves look worn or are touching the plastic of the system, cut them off. It improves airflow and prevents fungal issues.
Tip: If you soak the new crown in a glass of water for a few days, roots will sprout and you’ll have a new strawberry plant ready to transplant.
Pollination indoors
There are no bees or wind in your kitchen — you are the pollinator.
The method: When you see an open flower with a yellow center, use a soft paintbrush or an electric toothbrush and gently touch the center of each flower.
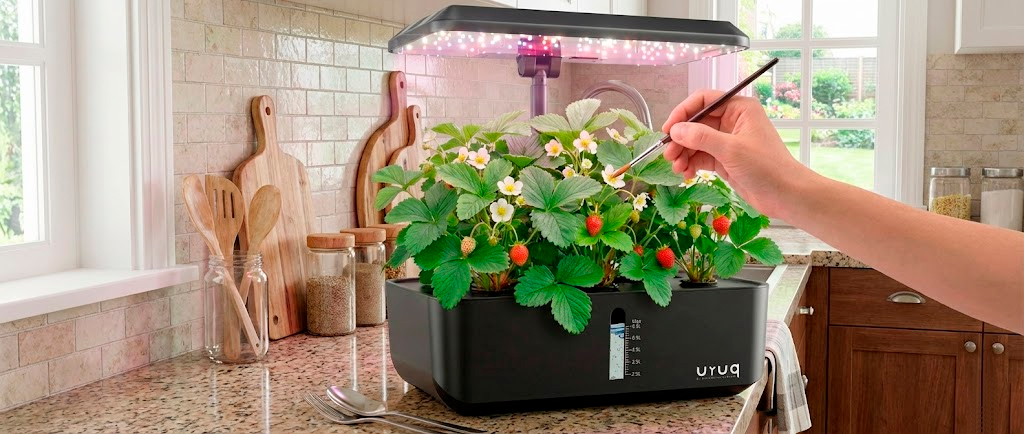
Frequency: Do it daily while flowers are open.
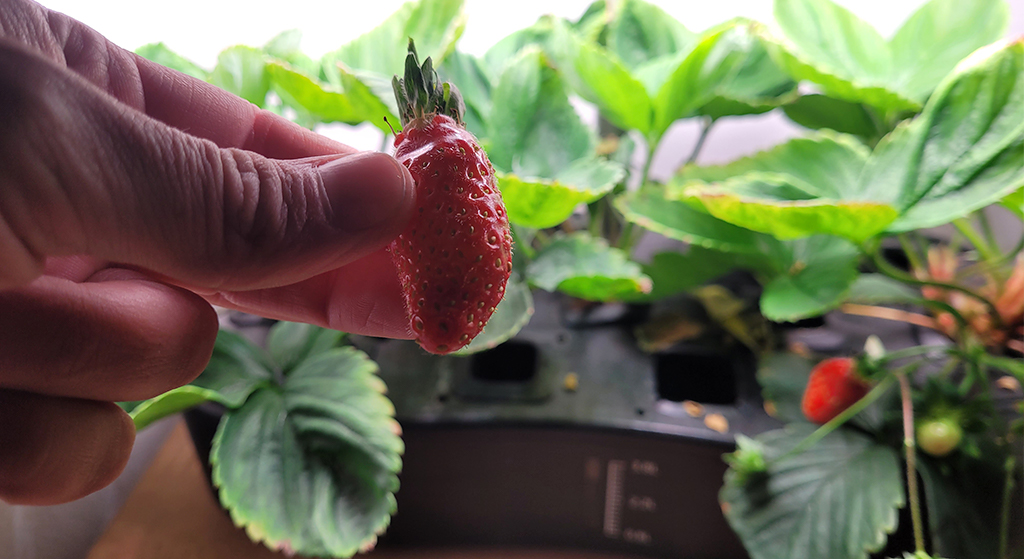
Signs of poor pollination: If the strawberry grows misshapen, small, or with dry green patches, it means that part of the receptacle wasn’t properly pollinated. Thorough, even pollination is what gives you a well-formed, conical strawberry.
Common problems and how to fix them
| Symptom | Likely cause | Solution |
|---|---|---|
| Yellow leaves | Iron chlorosis from high pH (above 7.0) | Lower the pH |
| Fungus (Botrytis) | Excess moisture and poor airflow | Prune dense leaves and place a small fan nearby |
| Small or sour fruit | Lack of light or potassium | Adjust lighting and nutrition |
| Burned tips (tip burn) | Calcium deficiency or EC too high | Add a Cal-Mag supplement |
| No flowering | Excess nitrogen or insufficient light hours | Reduce N and check your light cycle |
System maintenance
Since strawberries have a long growing cycle, hygiene is essential.
Root cleaning: If you see brown, slimy roots (Pythium), use diluted hydrogen peroxide or an enzymatic cleaner. Healthy roots should be white or light beige.
Solution changes: Do a full water change every 2 to 3 weeks. Strawberries release root exudates that can throw off the tank’s balance if the water isn’t refreshed.
Algae control: Make sure all empty slots in the system are covered. If light reaches the water, algae will grow and compete for nutrients and oxygen.
An invitation to experiment
Growing strawberries in a compact hydroponic system isn’t the easiest crop to start with, but it is the most rewarding. Pollinating your own flowers and watching those tiny green buds transform into deep red fruit is a personal victory.
Strawberries prove that these small systems aren’t toys — they’re powerful home farming tools.
Ready to give it a shot? If you’ve already started your grow or have questions about whether your transplants are doing well, stop by the forum, share a photo of your progress, and let’s swap tips for growing the sweetest strawberry possible.