
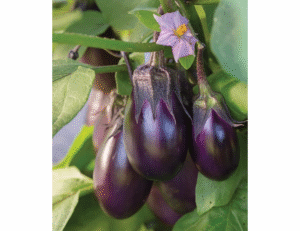
Up until now on the blog we’ve tracked leafy plants (like basil or kale), but today we’re leveling up: we’re going to grow fruit.
Baby eggplants (dwarf varieties) are perfect for compact indoor hydroponic systems. Think of them as the cherry tomato equivalent, but in eggplant form: plants that stay a manageable size while delivering real yields.
The challenge? They’re high-performance plants. Unlike lettuce, which only asks for nitrogen and light, eggplant is demanding: it eats a lot more, drinks far more water, and requires active grower intervention that leafy plants simply don’t need — pollination.
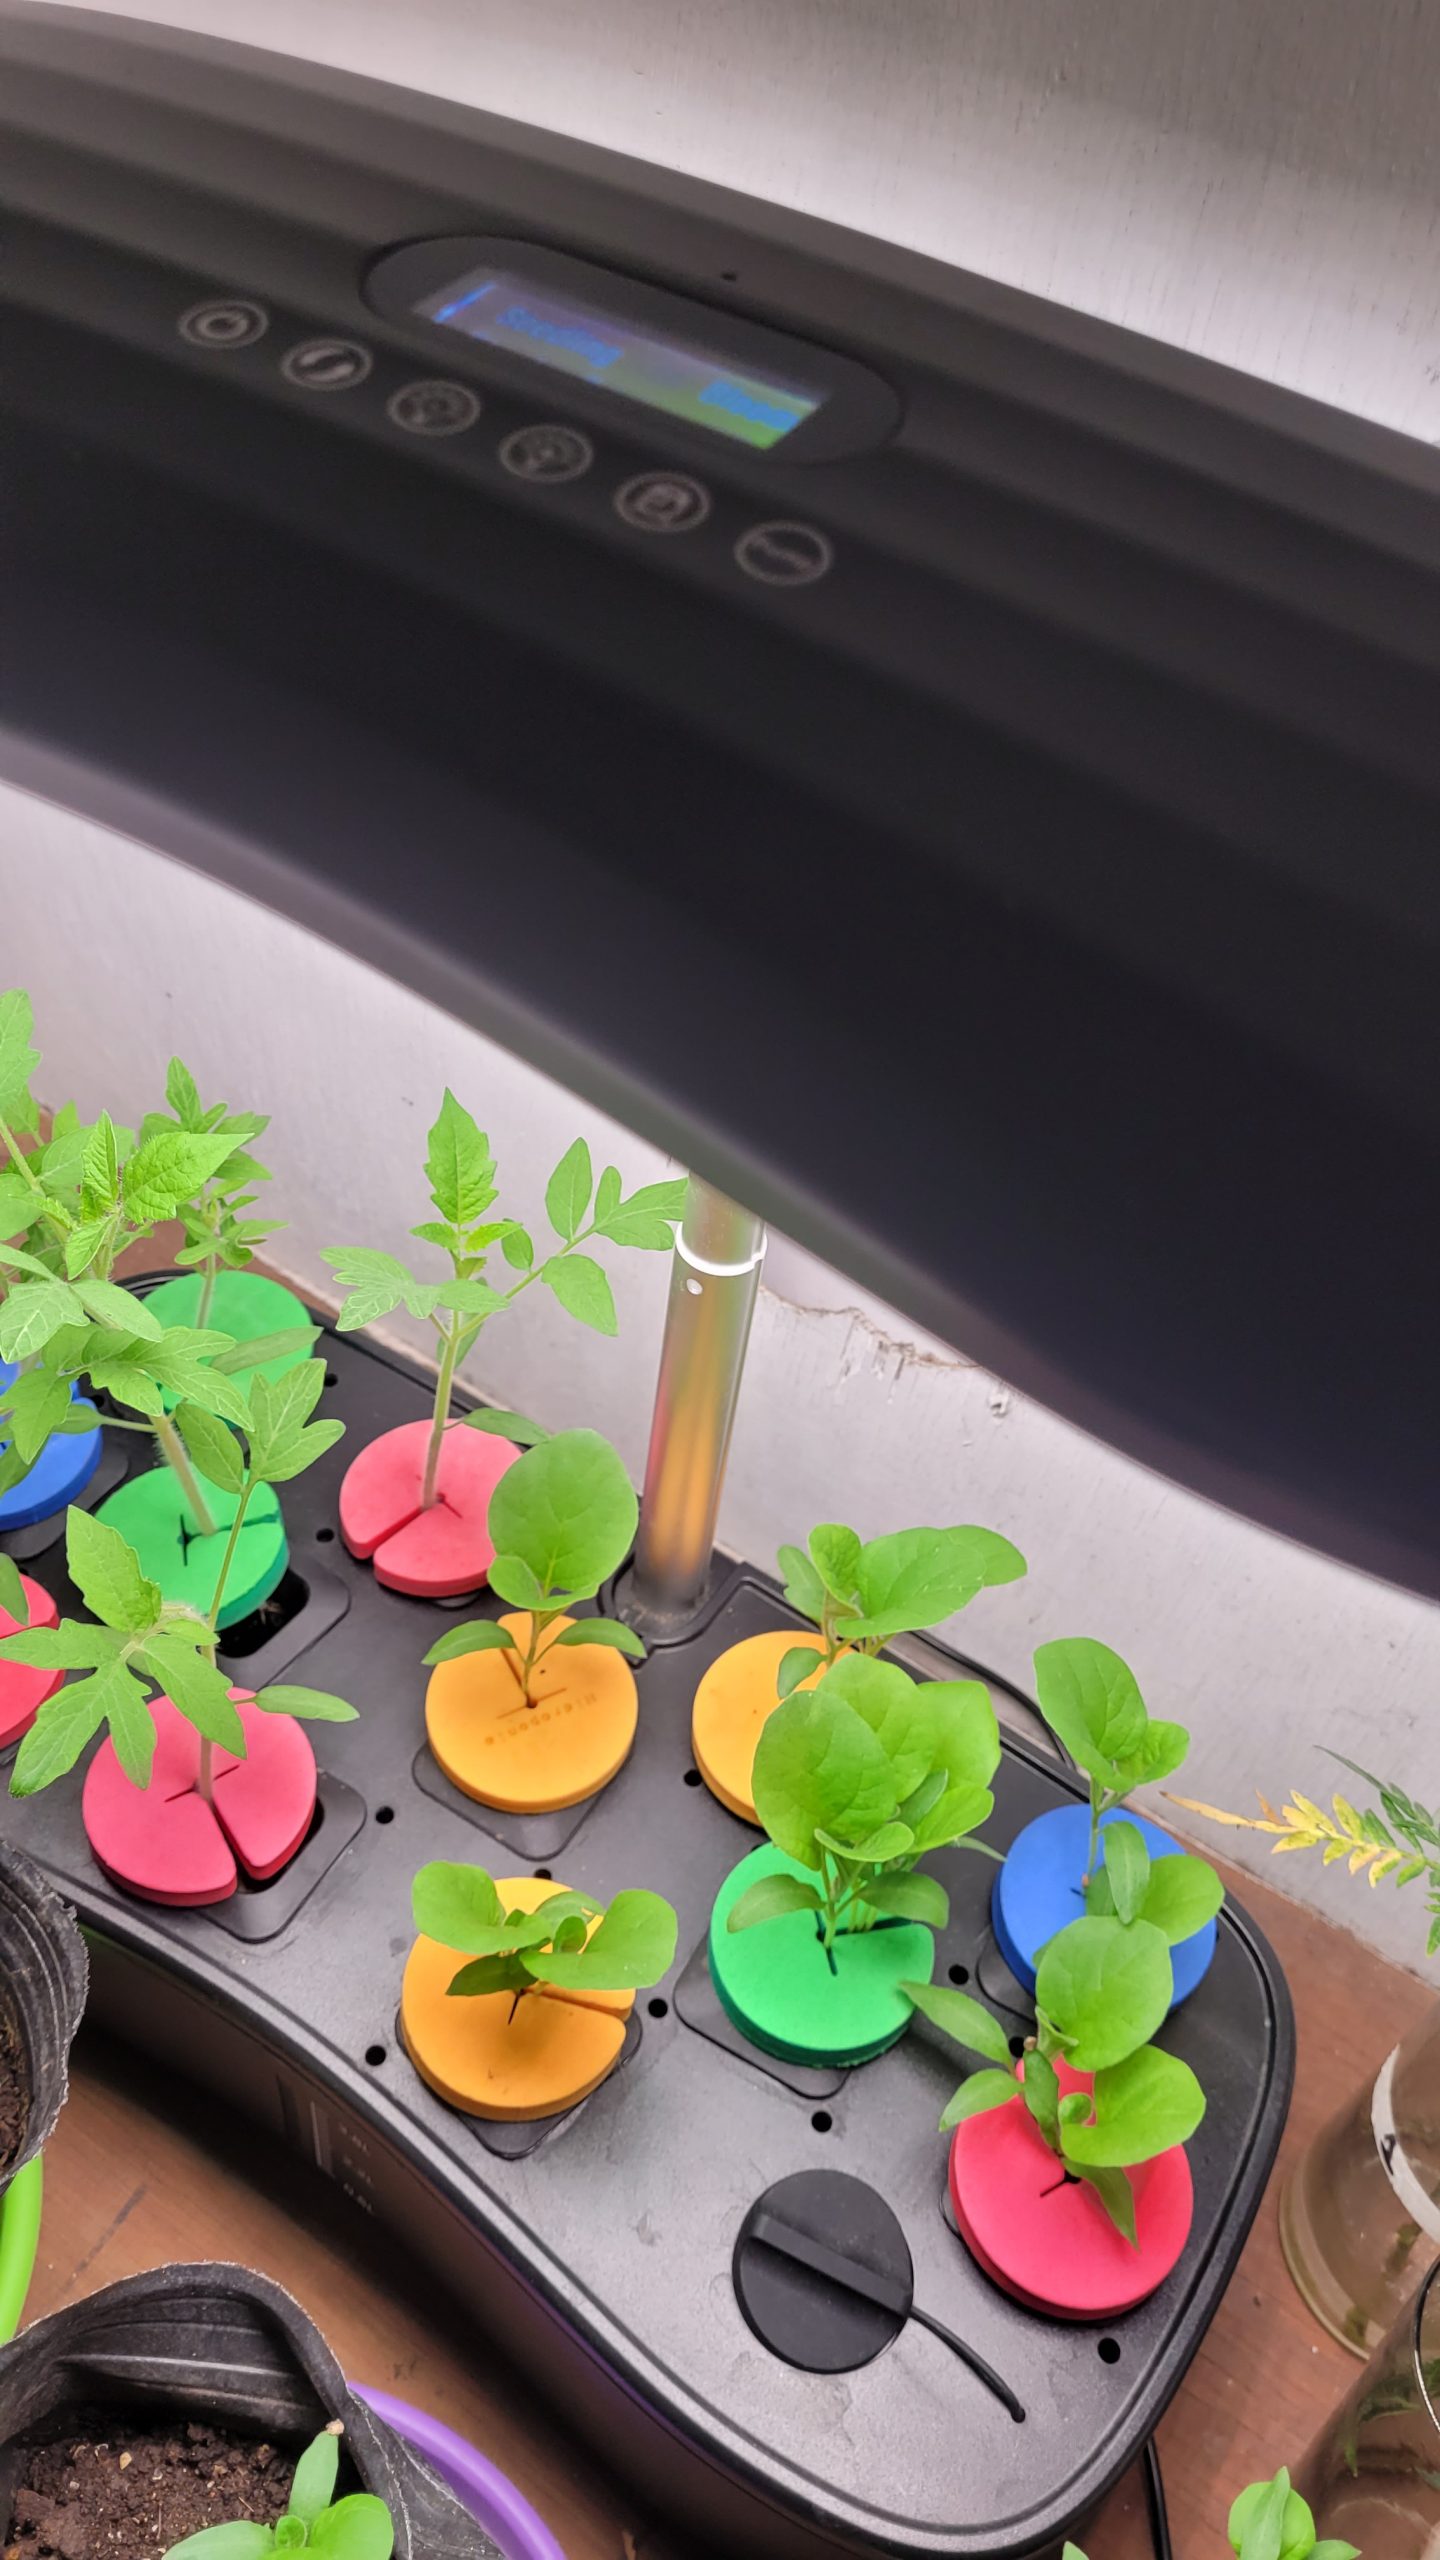
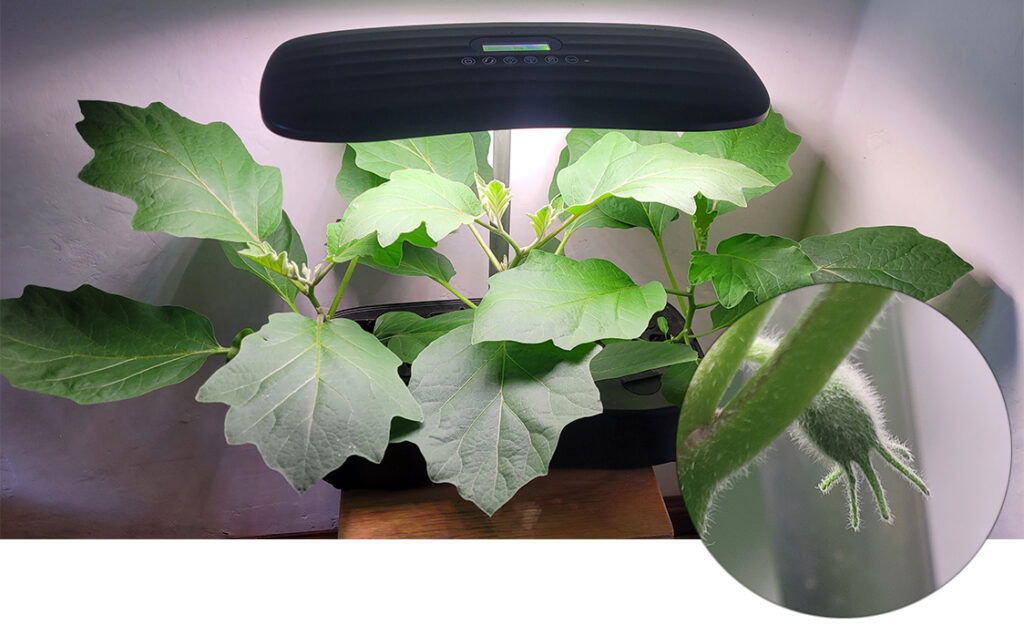
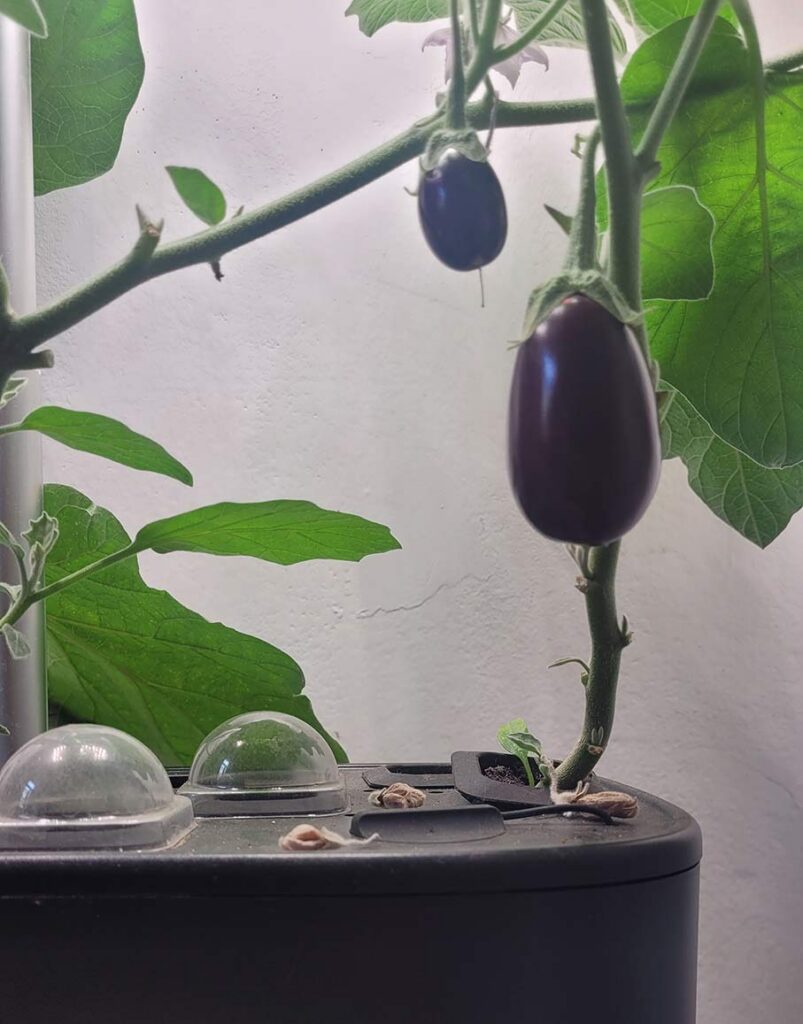
To kick off this new growing phase, we decided to make an interesting transition: we moved several baby eggplant and cherry tomato seedlings from their traditional soil pots directly into our smart garden (as you can see in the first image). We knew shifting substrates to a hydroponic system could be a challenge, so we gave them a few days to adapt and stabilize in their new environment. Once this initial stress phase was over, we evaluated their development and strategically selected the three most vigorous and promising baby eggplant seedlings to take center stage in this journal.
Here’s the full grow log of those 3 plants cultivated in a generic SmartGarden, with the real parameters you’ll need to get similar results.
Burpee Patio Baby Eggplant Seeds 30 seeds
Phase 0: selection and strategy
Starting point: We began logging the hydroponic phase when the plants were already somewhat established, at (approximately 15 days old from seed).
Space strategy: Space is the most valuable resource in a compact system. Baby eggplants develop wide leaves and a dense root system. Keeping more than 3 plants would have created fierce competition for light and nutrients where likely none of them would have thrived. The remaining seedlings (including the cherry tomatoes) were kept in soil.
Summary of the soil-to-hydro transition:
Root cleaning: When moving from soil to hydro, it’s crucial to gently wash the roots to remove dirt and avoid clogging the pump or contaminating the reservoir.
Adaptation (First days in the system): We started with a very light feeding (around 400 ppm) to avoid nutrient burn while the roots adapted to the water environment.
Progression: As the plants showed new white root growth and perked up, we gradually increased the dose, reaching 800 ppm by day 23.
pH: Stable between 5.5 and 6.0 with no correction needed (the nutrient buffer helped).
Nutrition: We used the Flora Series (Micro, Gro, Bloom). With a tank of approximately 1 gallon, we applied 2.5 ml of each component as a base dose.
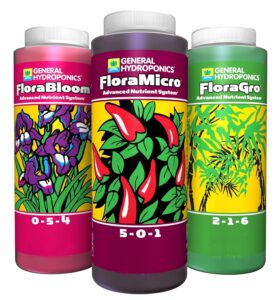
General Hydroponics Flora Series: FloraMicro, FloraBloom, FloraGro – 3-Part Hydroponic Nutrient
Day 23: establishment and structure
EC 800 ppm | pH 5.8
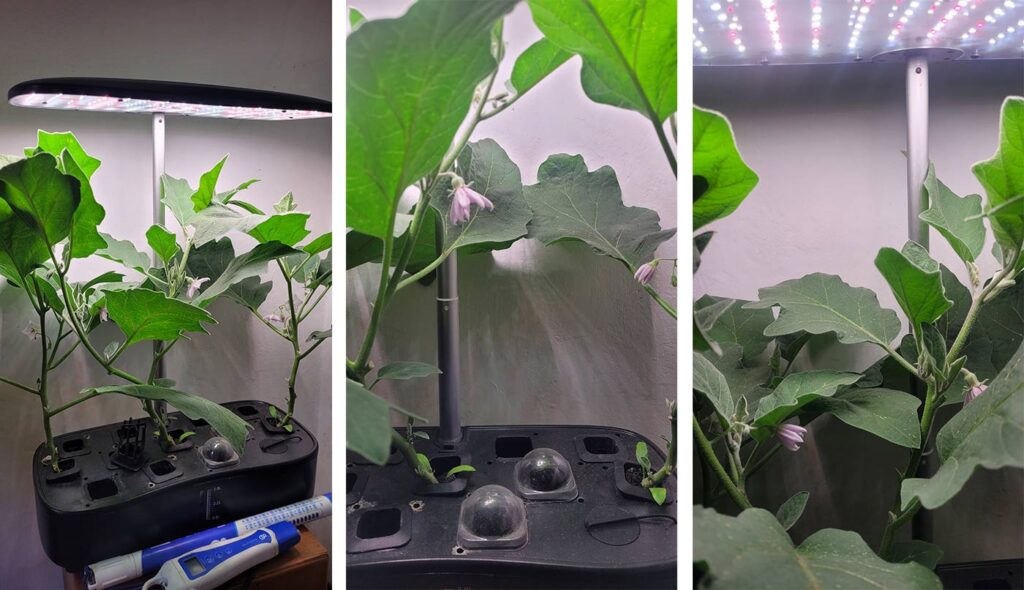
The 3 selected plants were spaced to maximize light exposure: two at the ends and one in the center. To cover the empty slots we used the germination caps — but that’s not ideal, since they let residual light through and encourage algae growth.
Tip: Use something completely opaque to cover empty slots. Aluminum tape or golf balls work great for blocking light and preventing root problems.
Goal at this stage: thick stems. We kept EC moderate (800 ppm) to avoid overloading the plants while they’re still young. pH at 5.8 ensures absorption across the full nutrient spectrum.
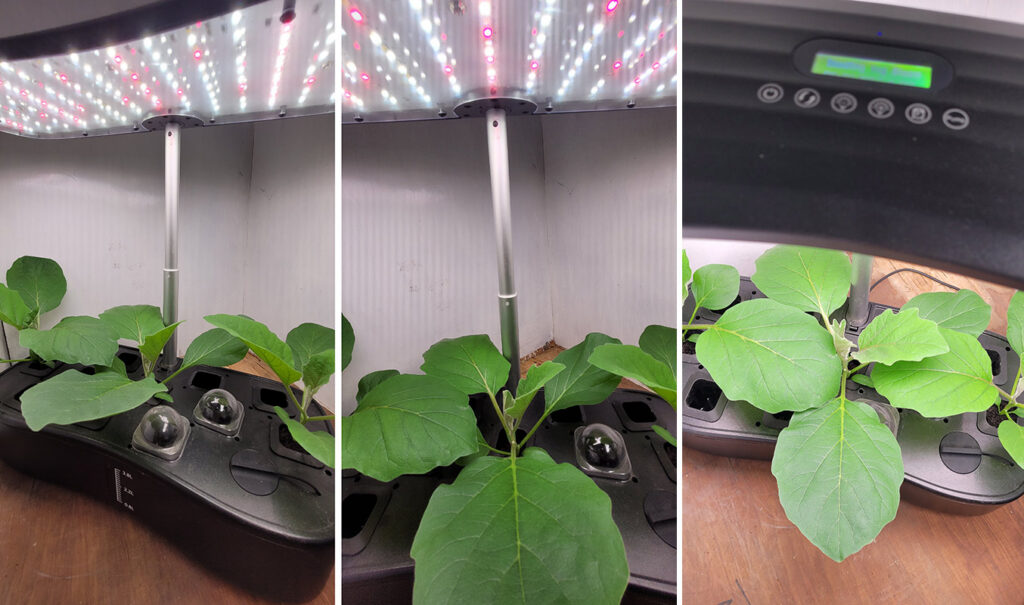
Day 30: the vegetative explosion
EC 900 ppm | pH 6.0 | Status: pre-flowering
In just one week, the plants colonized the system. The leaves are enormous — the size of an open hand. These are the “solar panels” that will generate the energy needed to produce fruit.
- Nutrient adjustment: We moved up to 900 ppm. The plant enters its “adolescence” and demands more energy.
- pH adjustment: We let it rise slightly to 6.0, the sweet spot for potassium and calcium absorption — both vital for flower structure.
Day 42: flowers and pollination
EC 1,000 ppm | pH 6.0 | Status: active flowering
The purple flowers arrived! This is where most indoor grows fall apart. In your living room there’s no wind and no bees, so you have to do the insect’s job yourself.
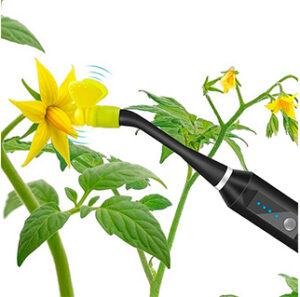
Plant Pollination Tool – USB Rechargeable Vibrating Pollinato
The technique: We used an electric pollinator (a battery-powered toothbrush also works). Turn it on and gently touch the base of the flower stem or the back of the flower.
The goal: You’ll see a fine yellow powder fall — that’s the pollen, and it needs to land inside the same flower to fertilize it. Without this daily vibration, the flower simply dries up and falls off without forming any fruit.
Day 52: fruit set and swelling
EC 1,100 ppm | pH 6.2 | Status: fruit development
The manual pollination paid off. Where there were flowers, we now see small, dark, shiny eggplants beginning to swell.
- Water consumption: The tank level drops fast. Eggplants are, structurally, mostly water — the plant can drain the entire tank in a couple of days. Check the level daily.
- Nutrition: We maintained a high EC (1,100 ppm). Backing off on feeding now would result in misshapen or undersized fruit.
Day 59: energy competition

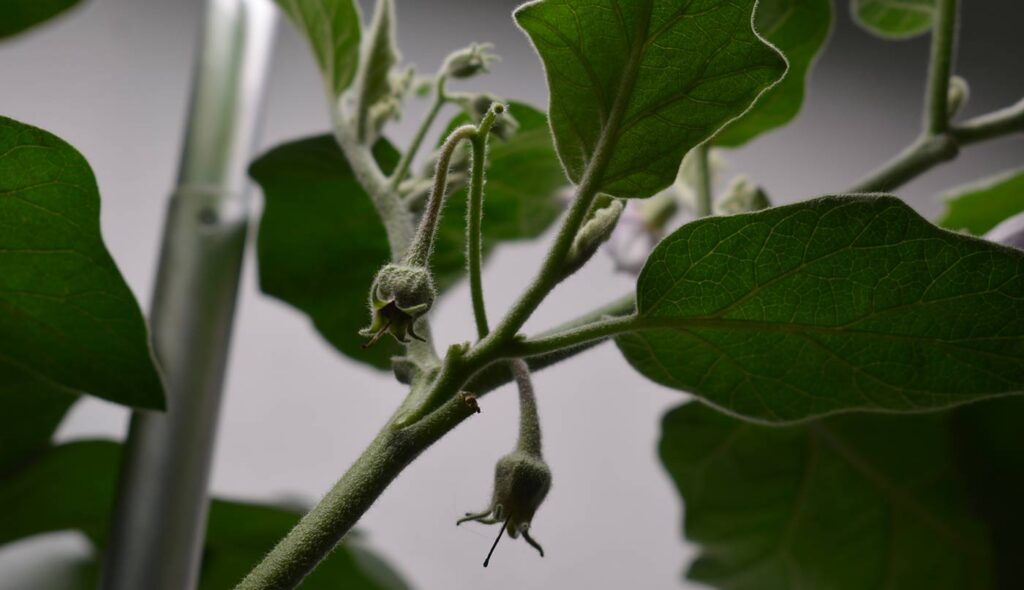
Key observation: flower abortion
The main fruits are growing quickly, with smooth, shiny skin. However, we noticed that many of the new flowers are dropping off without forming fruit, even though we kept pollinating.
This is called flower abortion and it’s completely normal. The plant is smart: if it’s already fattening up 3 or 4 eggplants, it will abort new flowers to direct all its energy toward the fruit it has already secured. This isn’t a problem — it’s self-regulation.
Day 64: explosive growth
EC 1,150 ppm | pH 6.1
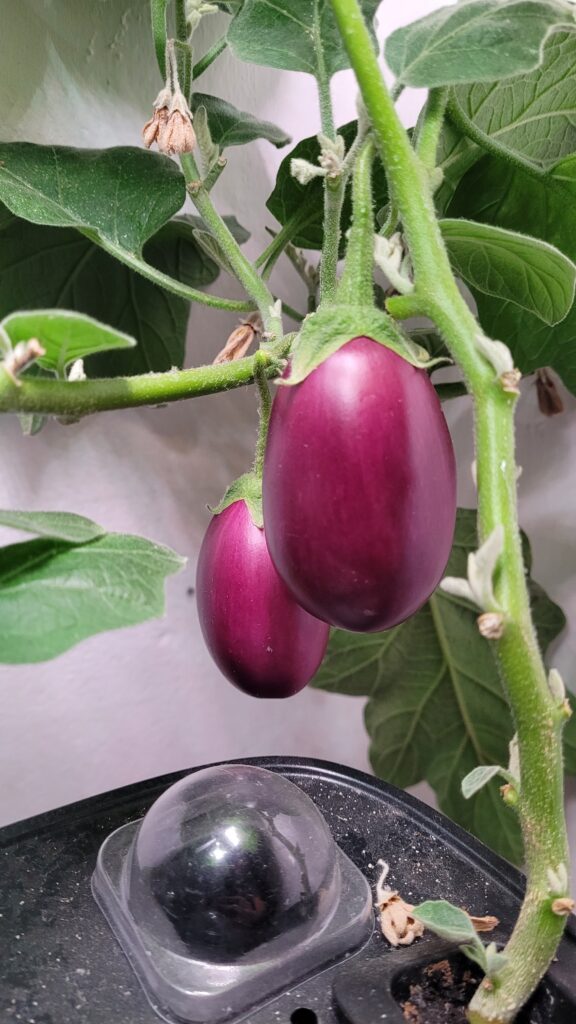
In just 5 days, the fruits made their final push. The eggplants reached a considerable size for a baby variety. The most striking thing at this point is the color: a deep violet, almost black, with taut and very shiny skin.
Heads up: At this stage the plant consumes water at a frantic pace to maintain fruit firmness. Don’t neglect the tank for even a single day.
Day 75: harvest
EC 1,200–1,400 ppm | pH 6.0
The eggplants stopped growing and reached their final color. They feel firm to the touch.
The exact harvest moment: The skin should be shiny. If it turns dull or yellowish, you’ve waited too long and they’ll turn bitter. At the ideal size, they’re perfect for cooking whole or halved on a griddle.
Takeaways: eggplants in a SmartGarden
Growing fruit indoors might seem intimidating, but it’s completely doable if you respect the three keys to success:
- Intense light: They needed the lamp at full power with a cycle of at least 14–16 hours. Without strong light, the plant grows but doesn’t have the energy to flower.
- Heavy feeding (high EC): We finished the cycle with peaks of 1,400 ppm. Don’t be afraid to feed eggplants aggressively once the flowers appear — they are nutrient devourers.
- Daily pollination: The electric brush made the difference between having pretty ornamental plants and having an actual dinner.
Are you up for the challenge of fruiting crops, or do you prefer to stick with leafy greens?