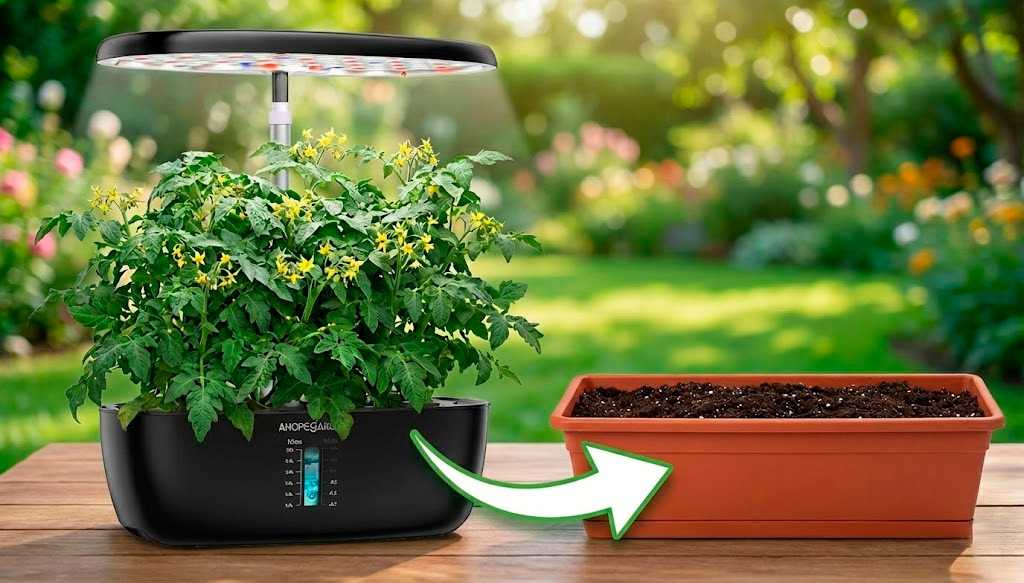
Your hydroponic garden has been a huge success: your plants are growing at an incredible pace. But there comes a moment when the system feels too small. Whether a cherry tomato plant is threatening to take over your kitchen or you want to take advantage of spring weather on the patio, moving a plant from water to soil is a natural next step.
However, roots that grow in water are different from soil-grown roots. They’re more fragile and are used to a constant supply of moisture and oxygen. That’s why this transition requires care — but with the right process, the plant won’t just survive, it’ll thrive.
Note: This article includes AI-generated images and illustrations to enhance your reading experience.
1. When does it make sense to move a plant to soil?
It’s not always necessary, but there are situations where it’s the best call:
- Too large: Plants like tomatoes, peppers, or eggplants often outgrow the height of the grow light or the available space in compact systems.
- Change of season: With spring or summer arriving, you can move your plants outdoors so they can grow under real sunlight and produce more fruit.
- Crop rotation: Free up space in your hydroponic unit to start new seeds (like fresh lettuce) and move mature plants to pots.
2. Which plants adapt best to transplanting
- Most resilient: Tomatoes, peppers, basil, and mint. They have strong stems that handle the stress of the transition well.
- Strawberries: They adapt very well, ideally by first moving them to an indoor pot before taking them outside.
- Ornamentals: Petunias and coleus respond well.
- The ones that struggle most: Mature lettuce and spinach. When they feel the stress of transplanting, they tend to bolt quickly, turning bitter. In these cases, it’s best to harvest and eat them directly rather than trying to transplant them.
3. Materials you’ll need
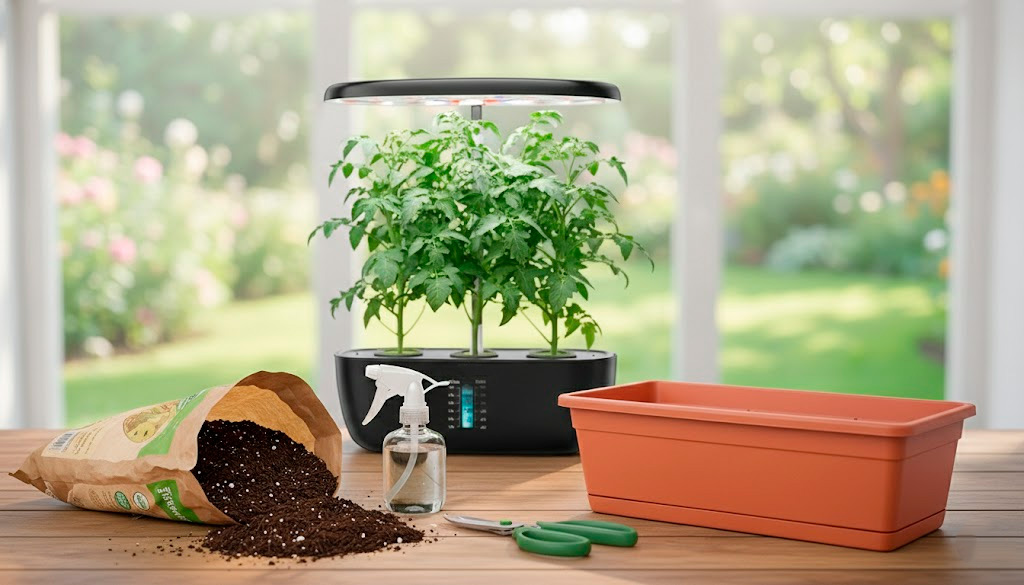
- A pot with drainage holes
- Quality potting mix — light and airy (see section 6)
- Clean, sterilized pruning scissors
- Plenty of water for the first watering
- A spray bottle to keep the leaves moist during the first few days
4. How to prepare the plant before transplanting
A few days before the big day, help the plant get ready for the change:
- Light acclimation: Reduce the system’s light hours slightly, or move the lamp farther away if possible. Sunlight is much more intense than LEDs, and the plant also needs to get used to real dark cycles.
- Preventive pruning: Cut off old or yellowing leaves so the plant doesn’t spend energy on them during the move.
5. How to remove the plant without damaging the roots
This is the most critical moment in the process.
If you have several plants in the same system, the roots have very likely intertwined into a mass beneath the cover. If you want to save a particular plant, you may have to cut the roots of the neighboring ones. Try to untangle them patiently, but accept that some roots will always be lost. That’s okay — the plant can regenerate them.
What to do with the plastic pod?
- If the roots are thin, you can try to carefully remove the plant from the pod.
- If the roots are thick or abundant, don’t force it. It’s better to bury the entire pod. You can try cutting the plastic with strong scissors to free the roots, but if you’re unsure, just bury it pod and all — the plant will thank you.
What about the sponge? Don’t remove it. The primary roots are embedded in it, and pulling it out would damage the heart of the plant. The sponge gets buried along with everything else.
6. The best growing mix for plants coming from hydroponics
Water-grown roots are white, thick, and used to direct oxygen. In compact or clay-heavy soil, they suffocate quickly.
The ideal mix: A spongy growing medium that retains moisture but still allows airflow.
- 50% potting soil + 30% perlite + 20% peat moss or coconut coir
What to avoid: Unamended garden soil (it compacts too much), clay, or substrates with uncomposted wood.
7. How to plant correctly
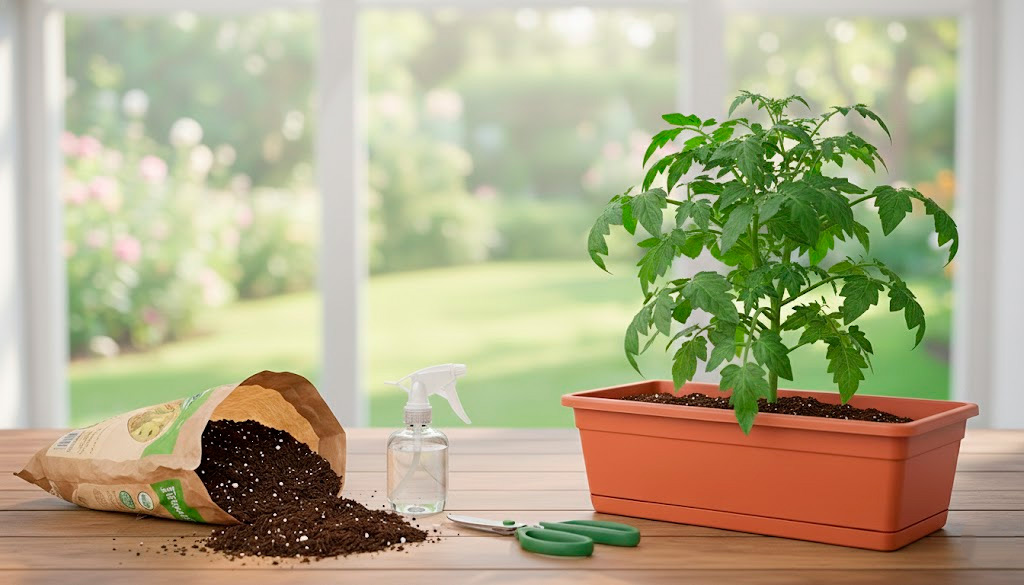
- Timing: Do the transplant in the evening or on a cloudy day. Under midday sun, the plant can dehydrate in minutes.
- Prep: Fill the pot with growing mix halfway.
- Position: Place the plant (with sponge and pod if you decided to keep them) in the center.
- Fill: Gently add soil around it. Don’t pack it down — those roots are delicate and need air.
- Depth: Cover the sponge completely with soil to prevent it from drying out or developing fungus, without burying the stem deeper than its natural base.
8. First watering
The first watering should be thorough: water until it drains out of the drainage holes. The plant is coming from a water-based environment, so the growing mix should be very moist during the first 24 hours to minimize shock. After that, you’ll gradually reduce watering as the plant adjusts.
9. How to reduce transplant shock
The change of environment is stressful for any plant. To help it along:
- Shade for the first few days: Keep the plant somewhere bright but out of direct sun for the first 3 to 5 days.
- Foliar moisture: Mist the leaves with water twice a day. Since the roots are still adapting to the growing mix, hydrating the leaves directly prevents wilting in the meantime.
10. Care during the first week
- Drooping leaves: It’s completely normal to see the plant looking “sad” for the first couple of days. If the growing mix is already moist, don’t water more — excess water rots the roots. Give it time.
- Wind protection: If you moved it outside, protect it from strong wind for at least the first few days.
- No fertilizer: Fresh growing mix already has nutrients, and the plant is stressed. Wait at least 2 weeks before fertilizing.
11. Signs that the transplant was successful
- Bright green new leaves appear at the tips.
- The stem firms up and starts orienting toward the light.
- Over time, you begin to see roots peeking out from the drainage holes of the pot.
12. Common mistakes
- Immediate direct sun: Leaves that are used to gentle LEDs burn quickly. Acclimation must be gradual.
- Forcing the pod out: Breaking roots while trying to remove the plant at all costs is the main reason transplants fail.
- Packing down the soil: Compressing the growing mix like you would with garden soil suffocates the hydroponic roots that need oxygen.
Frequently Asked Questions
What do I do if the plant wilts completely? Create an “emergency greenhouse”: place a clear plastic bag over the pot using sticks as supports so it doesn’t touch the leaves. This maximizes ambient humidity. Keep the pot in the shade until the plant recovers — usually within 24 to 48 hours.
Do I need a special growing mix? Not a specific one, but a good-quality one. Avoid cheap filler soil. Invest in a quality potting mix and blend in perlite if it’s not already included.
How do I maximize the chances of success? The secret is doing the process in stages. Moving a plant directly from the hydroponic system to garden soil is the riskiest leap. The ideal path is:
Smart Garden → Small indoor pot → Outdoor pot in the shade → Gradual sun exposure → Garden soil
Each step gives the plant time to adjust its cell structure and adapt progressively to wind, sun, and real soil.
Transplanting to soil is the final step in “graduating” your plants from hydroponic school to the real world. It takes patience, but watching a seedling you grew from scratch on your kitchen counter turn into a thriving shrub in your garden is one of the greatest rewards of urban growing.